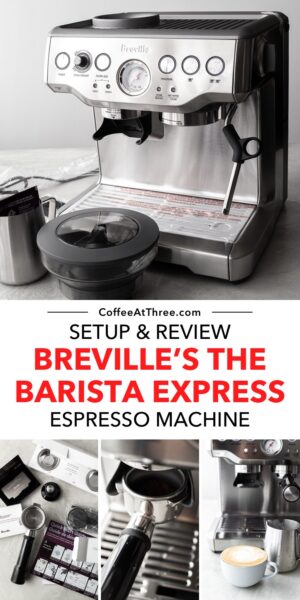
See what’s involved in setting up and getting this Breville espresso machine running to make lattes at home.
About the Barista Express
- Create cafe-quality espresso drinks at home like lattes and cappuccinos.
- Built-in coffee grinder, milk frother, and espresso machine in one compact machine built for home use.
- Setup takes about 20 minutes.
- Refillable water tank is attached to the machine so no need to connect it to a water source.
- Turn it on and it’s ready to make espresso in about a minute.
Why the Barista Express?
I had looked into several machines but landed on the Barista Express because I like the quality of Breville products (I’m a big fan of their Milk Cafe to froth milk) and it was recommended to me by coffee professionals.
The cost (under $1K), the all-in-one design (grinds beans and froths milk), the sleek, simple design, and the powerful boiler (which is what you’re really paying for) convinced me to get the Barista Express over the other Breville machines.
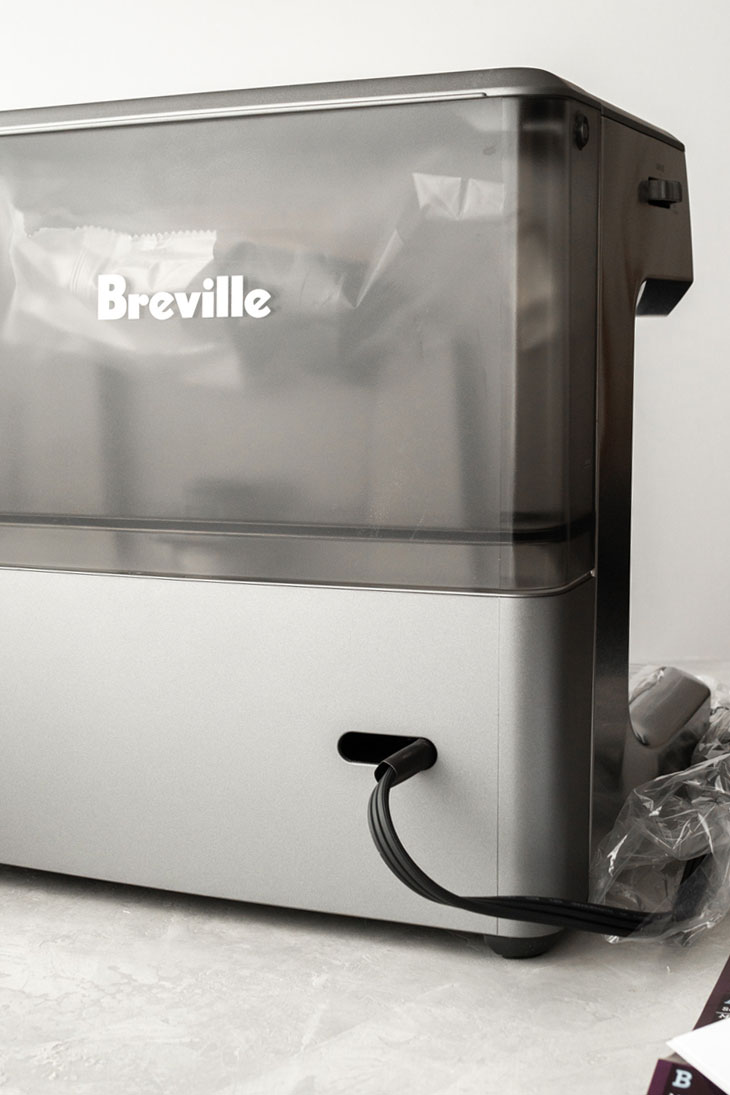
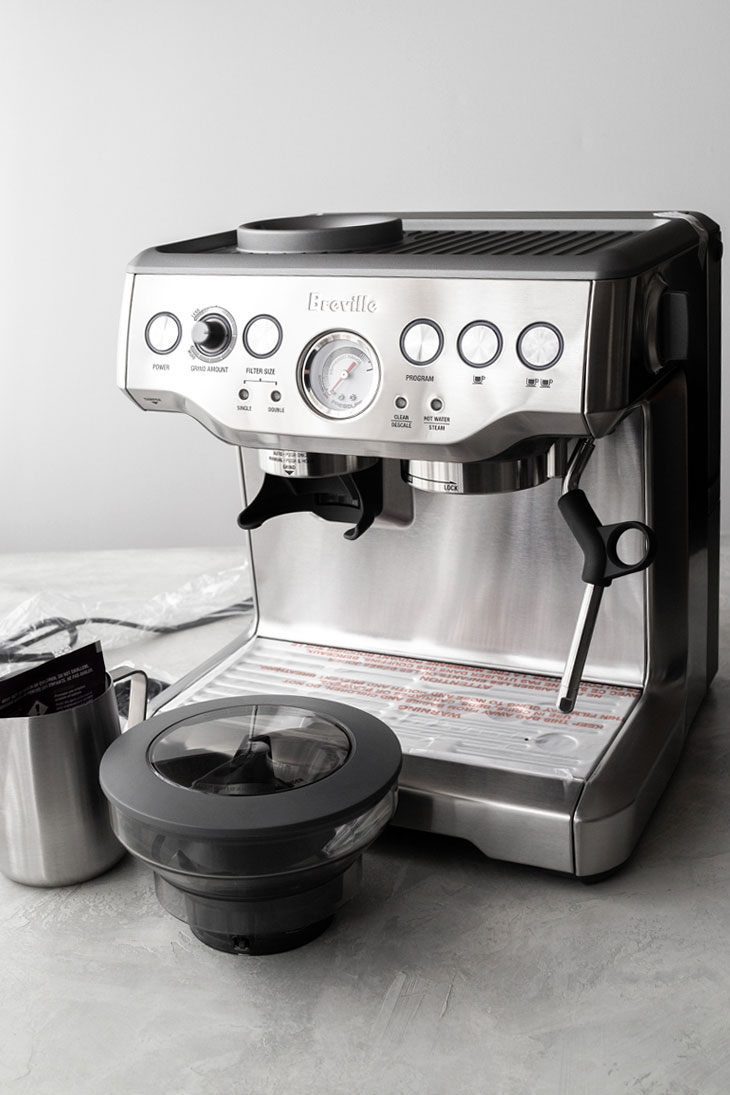
Unpacking the Box
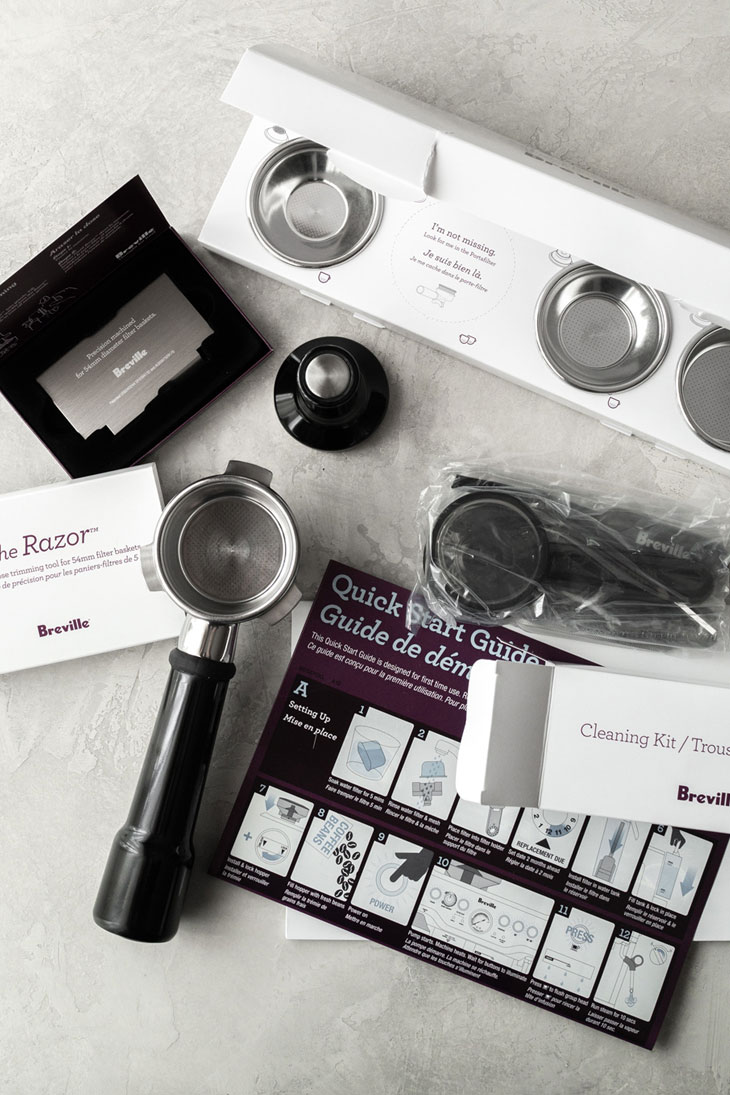
What’s inside aside from the espresso machine:
- 1-page quick start guide to help you set up quickly and easily.
- Cleaning kit
- Portafilter — it looks like a scoop with a long handle. It’s what holds the ground espresso beans and attaches to the machine to make espresso.
- Tamper to packs the ground espresso into the portafilter. It’s shaped like flat door knob.
- the Razor, a credit card sized metal tool to trim any excess espresso grounds from the portafilter.
- Stainless steel milk jug to froth milk
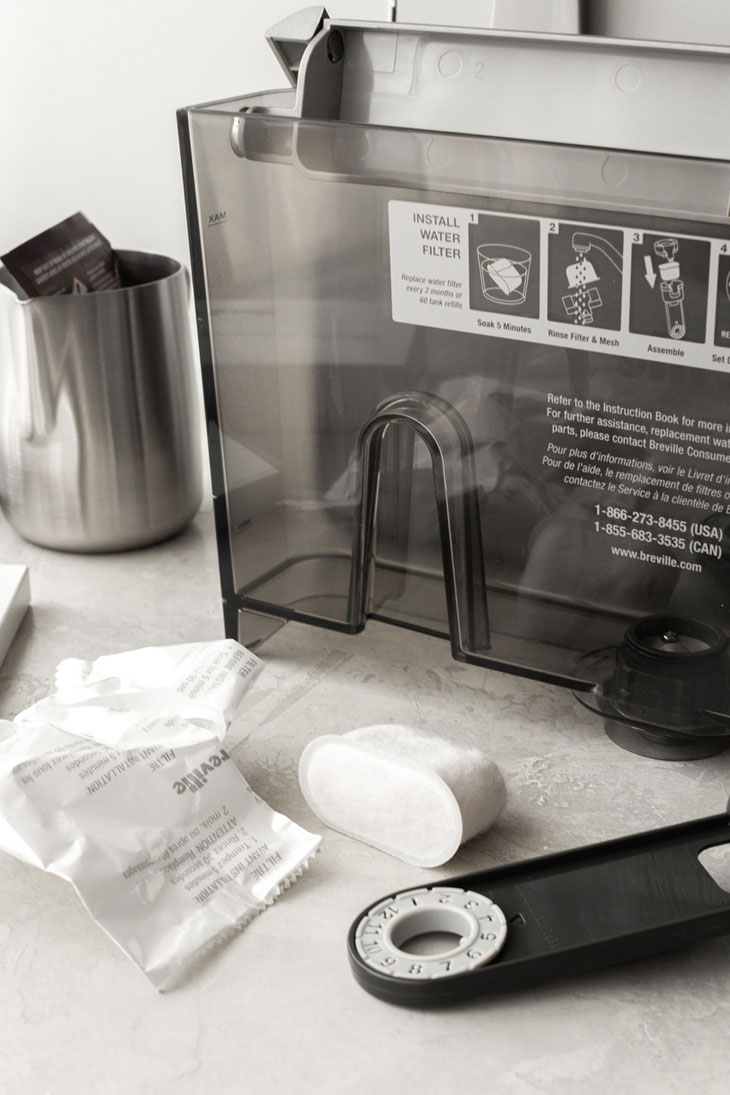
- Water filter and holder
First Time Machine Setup
1. Wash parts and wipe machine
The removable water tank, portafilter, filter basket that’s attached to the portafilter, water filter holder (found inside the water tank) and milk jug need to be washed before using. Don’t clean parts in the dishwasher.
Use a damp paper towel or soft cloth to wipe the machine and removable drip tray.
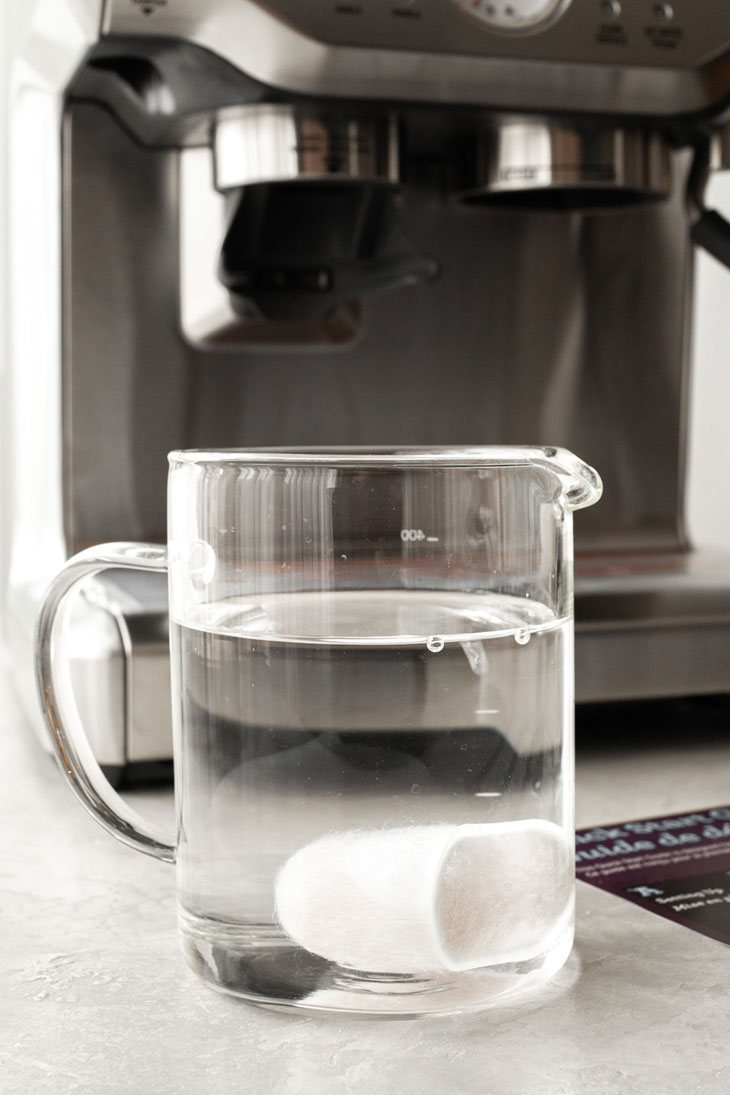
2. Install water filter
In a small, white plastic package is a white, cottony-soft water filter. This needs to be soaked for 5 minutes in a cup of water. After the soak, give it a rinse under cold running water then put it into the filter holder.
3. Fill water tank
Slide the washed and empty water tank to the back of the machine. Press down the water filter so it locks into place inside the water tank. Fill water tank with cold water.
4. Flush the machine
Press the POWER button and the machine will start making noise as it heats up water.
It’s always a good idea to let hot water run out of the machine before and after making espresso every time you use it. Press the 2 CUP button and let the hot water run out of the group head. The group head is where the portafilter goes in and where the water comes out.
For first time use of the machine, turn on the steam for 10 seconds then repeat flushing the machine and turning on the steam until the water tank empties out.
Refill the water tank and the setup is complete!
Making a Latte
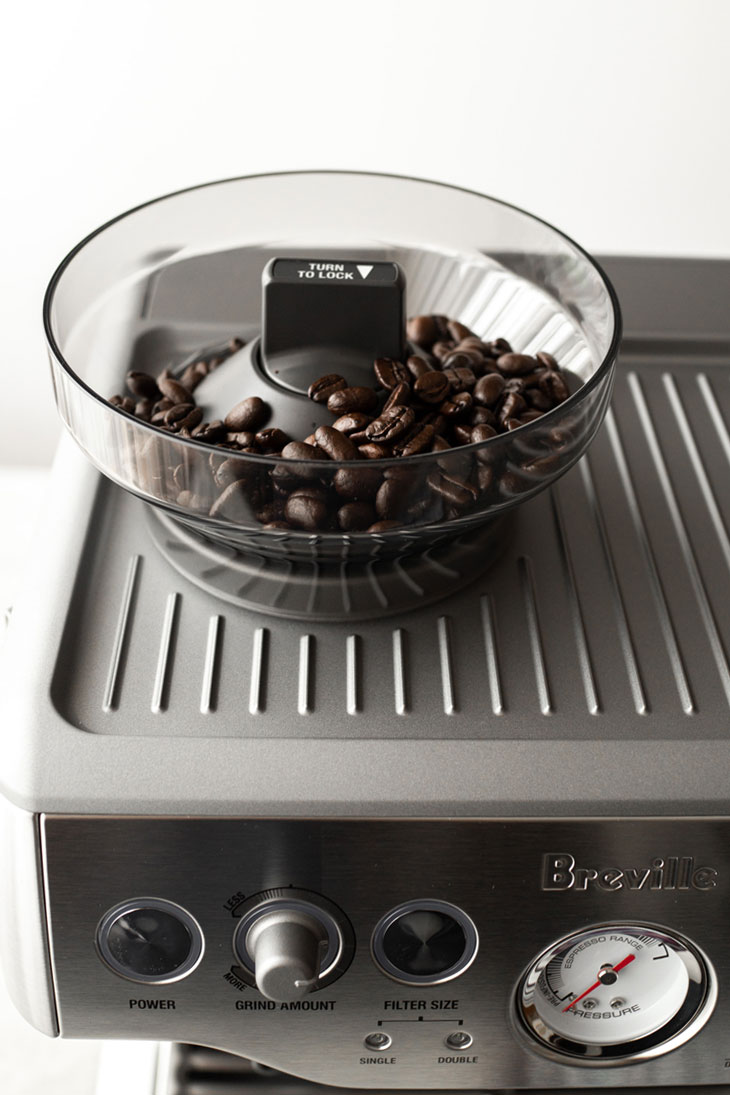
1. Grind coffee
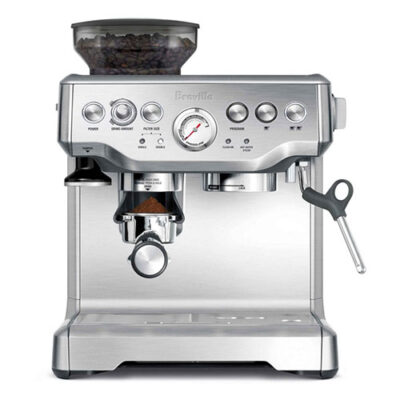
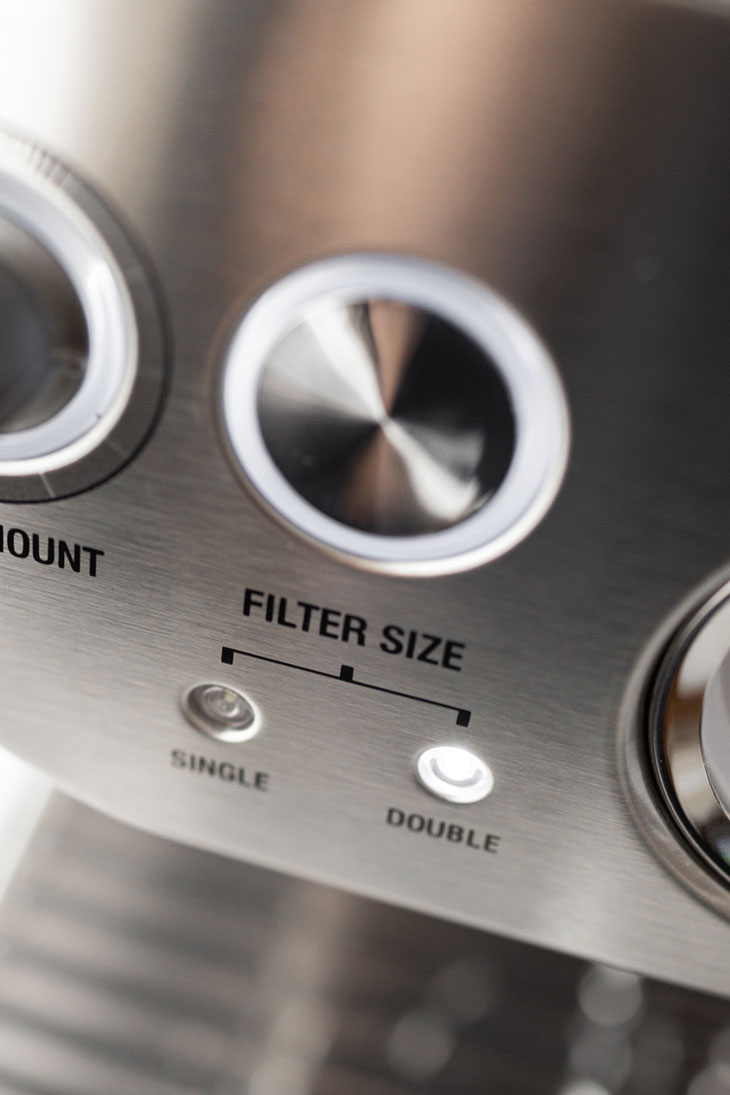
Put whole espresso beans into the hopper on the top of the machine and close the lid. Select the filter basket size (SINGLE or DOUBLE).
The double sized filter basket comes attached to the portafilter when you first open up the box so press the filter size button so it’s on “DOUBLE.” The grinder will dispense the right amount of coffee to fill the portafilter.
For first time use, I leave the grind size on 5 and the grind amount to it can be adjusted as needed.
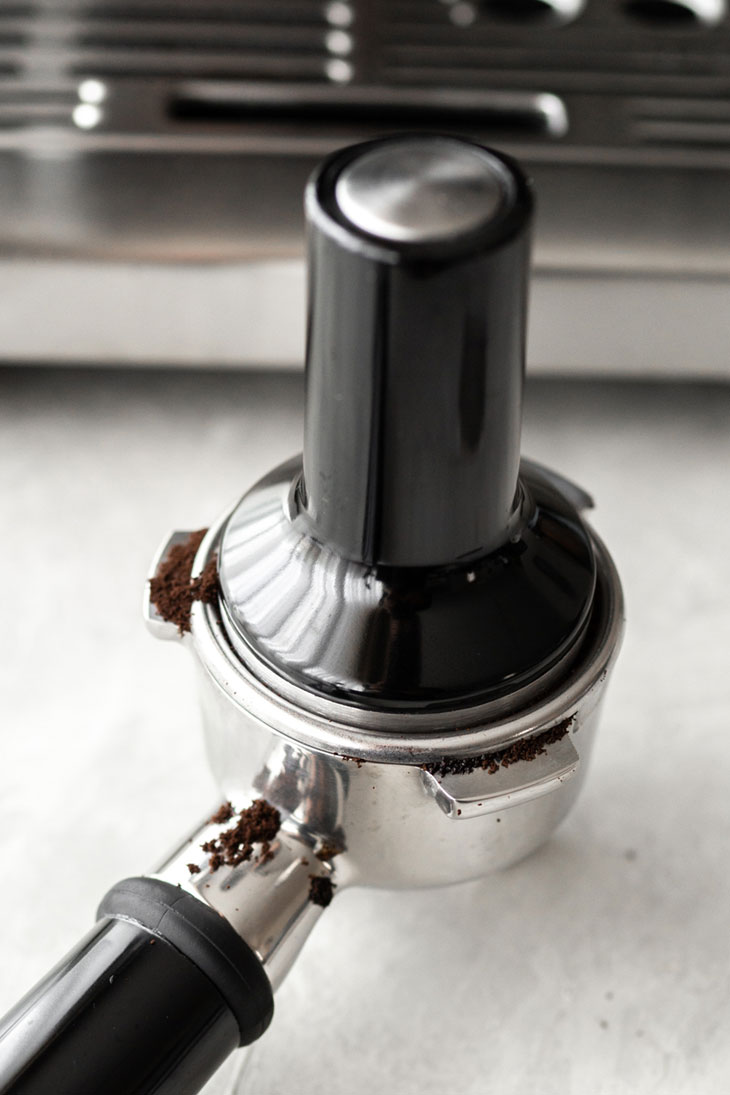
2. Tamp coffee
Place the portafilter into the grinding cradle and push gently until you hear the grinder working. Use the tamper to push the ground coffee so it’s packed firmly in the portafilter. You can use the Razor to level it out even more.
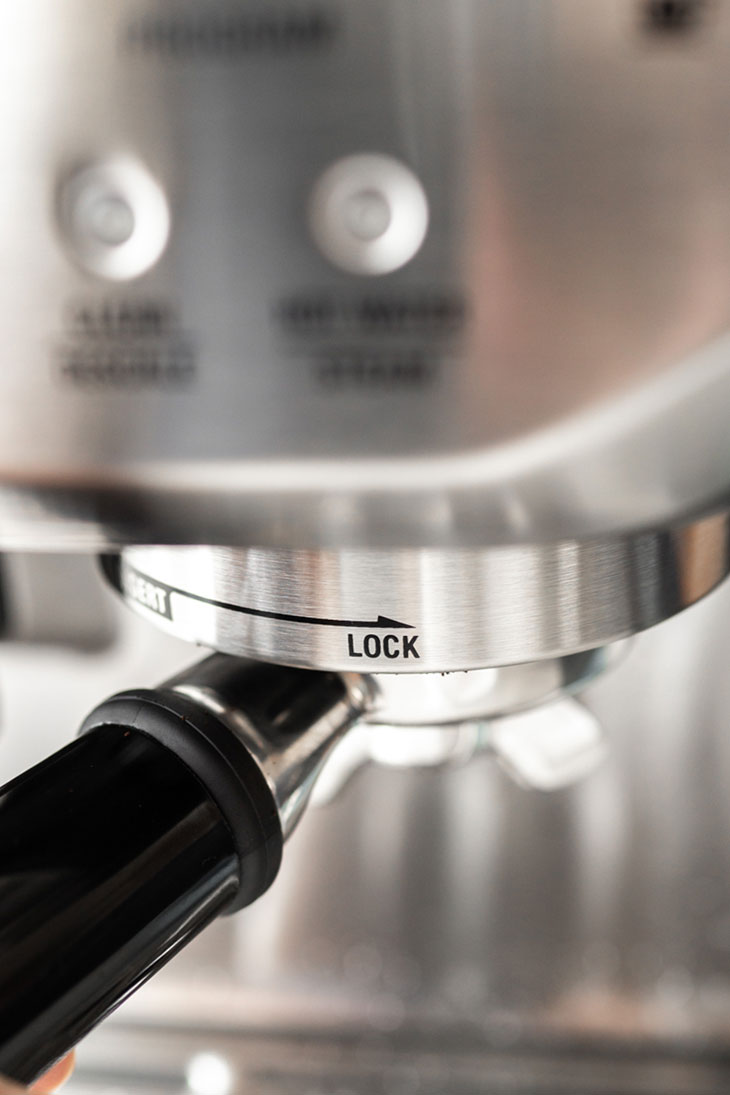
3. Make espresso
Pop the portafilter into the group head and place a cup under it. Push the “2 CUP” button and watch the espresso pour out of the portafilter. There is a pressure gauge that tells you if your espresso pull was a good one or not depending on where the indicator lands.


4. Froth milk
Put milk into the milk jug and froth milk using the steam wand.
Here’s a trick I learned to froth milk easily using this machine. Turn on the steam wand, wait for the steam to come out fully, then stick the steam wand into the milk jug. Move the steam wand so that it’s right on the surface of the milk and hold it there for 20 seconds.
Then place the milk jug on the right hand corner of the tray, moving the steam wand so that the wand is submerged into the milk. Steam until the jug is too hot to touch (takes about a minute) and turn off steam wand. The milk should be smooth and velvety.
Pour steamed milk into the cup with espresso and you’ve got yourself a great cup of latte.
The Bottom Line
THE GOOD:
- Breville’s the Barista Express makes great quality espresso.
- Setting up the machine is easy.
- Espresso after initial setup is made in about a minute.
- Sturdy construction and great design.
- Compact size for the kitchen. Takes about the same space as a coffee machine and grinder.
- Semi-automatic and customizable.
THE BAD:
- Requires some practice since it’s not all automated.
- Needs to be cleaned after each use.
- Deep cleaning is needed every once in a while which can be a hassle.
OVERALL:
If you’re looking for a good quality espresso maker for your home, this is it. After using it daily for 3 weeks, I can honestly say I look forward to using it every morning to make my latte. Sometimes it turns out really great and sometimes just ok, but I’m enjoying the ritual of making my coffee and playing home barista.
The machine is about $750 with tax. I used to spend $5 for lattes so after making 150 drinks, it’ll have paid for itself.
Photo Credit: williams-sonoma.com
Questions You May Have
In or near the kitchen is best. Even though the water is supplied through a water tank, you do need to be able to empty out the drip tray which fills up with water in the sink. Also, the steam wand needs to be constantly wiped and cleaned after each use so being near a sink is helpful.
Use a damp cloth or wet a small towel like this to clean the steam wand after each use. A paper towel is too thin to clean the wand effectively. Also, make sure to run the steam a couple of seconds to prevent milk from clogging up the wand.
Use a spoon or a flat screwdriver to pry out the filter basket.
A knock box is an empty box where you can knock the portafilter against to throw out the coffee puck. You don’t need one, but it does make it easier to remove the coffee from the portafilter.
Flat white, cortado, macchiato, latte, and cappuccino can all be made at home using the machine.
The pressure gauge tells you how much pressure was used to pull your shot of espresso. After you press the button to start the extraction process, the needle on the pressure gauge will start to move. What you want is the needle to be in the solid gray area. That’s the ideal pressure zone and will result in a better tasting espresso.
If the needle never moves up to the solid gray area on the pressure gauge, it means your espresso was under extracted. If it goes above the solid gray area, your espresso was over extracted.
Under extraction means the hot water went through the ground coffee too fast. Your espresso will taste watery and won’t have much crema or flavor. To fix this, change the grind setting so the water has to work a bit more to go through the ground coffee. This means you should set the grind so that it’s finer. Make sure there is enough ground coffee in the filter basket and that it was tamped properly.
Over extraction means the hot water went through the ground coffee too slow. Your espresso will taste bitter. To fix this, change the grind setting so that the water can flow through the ground coffee faster. Set the ground so that it’s a little coarser than how you had it and make sure you didn’t overfill the filter basket. You shouldn’t overtamp the ground coffee in the filter basket. Tamp it just once, with firm, even pressure.
Espresso Drinks to Make